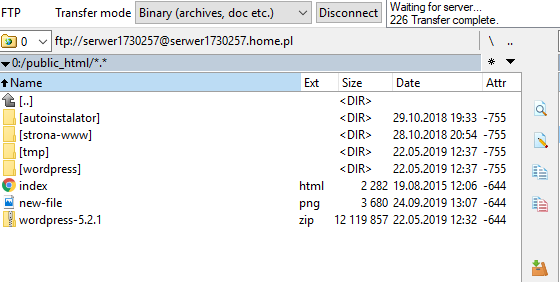
When you have a server, you can place files on them using an FTP connection. You will need FTP access data for this. In this article, you’ll learn how to set up an FTP connection and upload files to an FTP server with Total Commander. Total Commander is a popular file manager that has the functionality of an FTP client. It allows you to upload files to a server and download files to your computer.
You can get FTP access using:
- WebFTP or a program for servicing an FTP server available in the Control Panel,
- FTP connections in the FTP client by logging in with the main account name and password,
- FTP connections in the FTP client by logging in with the name of the additional user and his password.
How to set up an FTP connection?
- Run the Total Commander program. In the main menu, select Net > FTP Connect
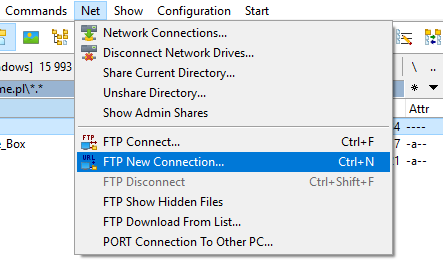
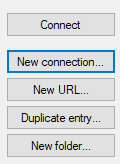
- Select New connection.
- Enter basic information about the FTP connection:
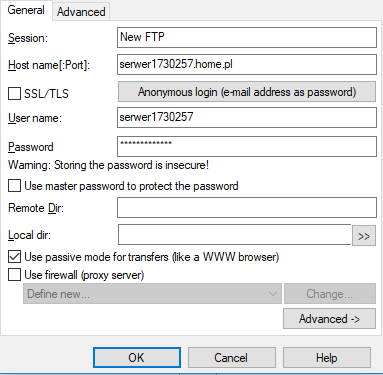
- Session: name this connection with any name visible in the program,
- host: will provide the FTP server address, e.g. server12345.home.pl
- User name: enter the username,
- Password: enter the password for the FTP server assigned to the user.
- Select the option: Use passive mode for transfers.
At the beginning of this article, you’ll find URL links to help where to find and how to change FTP server access details. - After clicking OK you will be able to connect to the FTP server. Select a connection and click Connect.
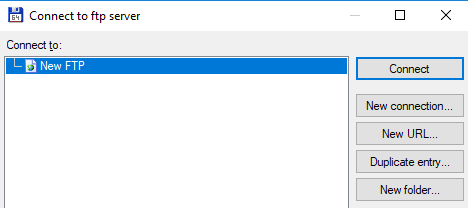
- In Total Commander, you can view two directories at one time. One directory is your FTP server. The second directory is a local disk. Find the files or folders you want to transfer to an FTP server.

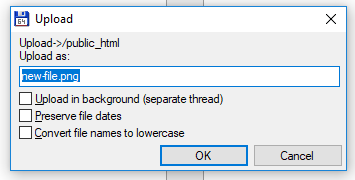
- Click on the F5 or Copy keyboard. Start copying files to the FTP server.
- After finishing work, you can disconnect from the FTP server by clicking Disconnect.
